
How to Grow Microgreens in 6 Steps
Unlike growing sprouts, which involves eating the sprouted seed, growing microgreens allows the first cotyledons to grow from the seed and they are eaten without the seed. Studies have proven that a plant contains up to ten times more vitamins and minerals in its microgreen form than a plant that has grown to full size from the same seed.
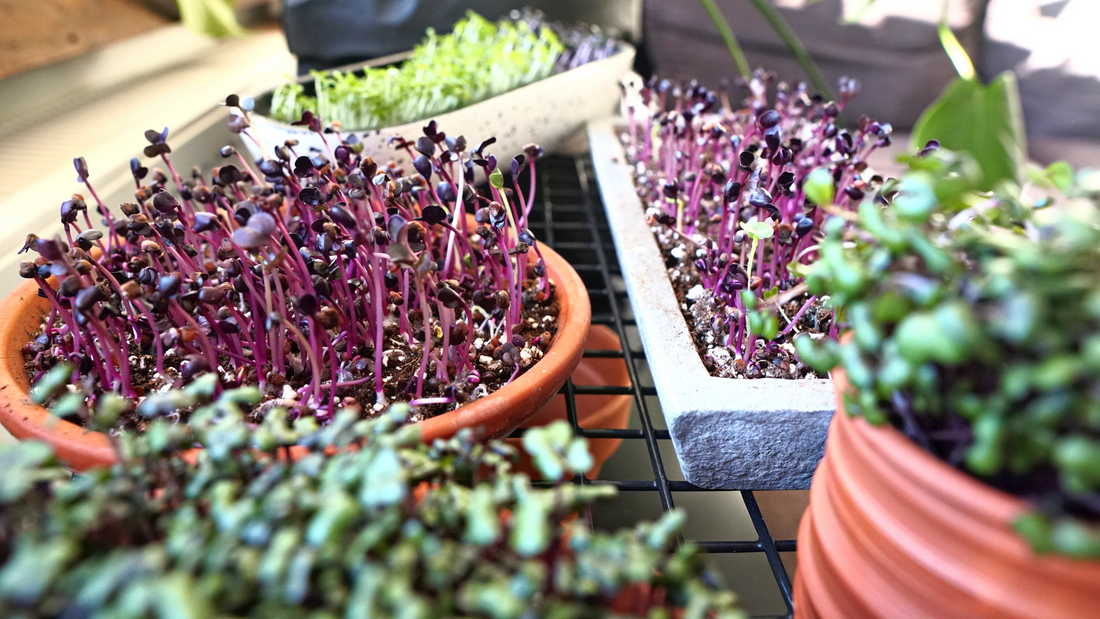
For variety, microgreens can be grown from seeds - sunflower, radish, mustard, watercress, rocket, broccoli, etc. - or from grey peas. And don't forget the home-grown chives from onions.
1. seed selection
When selecting the seeds, attention should be paid to ensure that they have not been treated with chemicals - they should not be pickled. Although the seeds themselves will not be eaten when growing microgreens, the cotyledons receive all their energy for growth from the seeds. The safest choice is organic certified seeds. To grow microgreens from grey peas, you can look for those grown on local farms. The best way to get chives, however, is to choose onions from your own garden or buy them from the market - they won't be treated with any anti-germination chemicals, as is often the case with the big onions you buy in the shops.
2. soaking
The tiny seeds for growing microgreens do not need to be soaked in water before sowing, otherwise they will stick together when wet and make sowing more difficult. Grey peas, however, need to be swollen in water for 8-12 hours before sowing in the soil to facilitate the germination process. It is probably best to leave them to soak overnight so that you can get to further work in the morning. The onions can be placed immediately in the soil or in a water container. The advantage of growing in soil is that the water does not have to be changed every day due to the onions becoming waterlogged and rancid.
3. container selection
For microgreens, you can find a variety of shallow dishes on the shelves at home - clay bowls, deeper plates. Be more careful when choosing jugs and jars so that the seeds do not get overwatered and the roots do not rot. Seedlings will do particularly well in a container with holes in the bottom to drain excess water. But if watering is done regularly and in small amounts with a water sprinkler, you can get by without holes.
4. soil selection and preparation
To properly regulate soil moisture and provide a 'soft bed' for the seeds, a readily available mixture of finely sieved peat (fraction 0-10) without added fertiliser can be chosen. Nature has arranged it in such a way that each seed itself has everything it needs to take root under the right conditions (light and humidity) and to push out its small cotyledons. Potting mix is suitable not only for regular replanting of houseplants, but also for growing microgreens. Potting mix is made from first-class, high-quality peat from Latvian marshes and enriched with the naturally originating raw materials - dolomitic limestone and perlite - for the better oxygen and water circulation.
5. sowing
Once the seeds have been soaked and the container has been found, you can start sowing. Spread the soil in a layer of 1-3 cm (depending on the depth of the container, so that the leaves can be easily cut off afterwards) evenly into the container and spray with water. Rub the seeds in a single layer over the moist soil and press gently with the palms of your hands. It is preferable to sow the small seeds thinner rather than too thickly, so that there is enough room for the seeds to grow and so that the roots do not rot if the seeds are too dense with too much moisture. The peas can be placed close together, covering the entire soil. Onions will also like to be placed quite close together. The seeds can be left uncovered so that the microgreens do not need to be washed after cultivation, but can be nibbled straight from the container or put clean on breakfast bread. In this case, make sure that the seeds are well pressed against the soil to form the necessary 'grip'.
6. light and watering
The container with the sown seeds should be placed on a windowsill in daylight to allow the seeds to take root and later sprout. To speed up the process during the dark months, conventional fluorescent or LED lamps with yellow or white light can be used. Halogen bulbs should not be used as they produce excess concentrated heat which can be harmful. It is essential for microgreens to receive light.
Watering is important for growing these green vitamins. Seeds and peas should be thoroughly sprinkled with water from the moment they are placed on the soil. Then, over the days, careful attention must be paid to ensuring that the seeds receive water as soon as the soil begins to dry out. Depending on the warmth and dryness of the indoor air (especially during the heating season), it may be necessary to spray the seeds both in the morning and in the evening. Peas and onions can be watered from above like houseplants, but for finer herbs such as mustard, radishes and watercress, it is preferable to apply water through the bottom of the container (if the container has holes) or along the sides of the container.
A DELICIOUS AND HEALTHY FEAST
The use of microgreens in the diet:
Pea microgreens – helps eliminate toxins and boosts metabolism. Contains protein, phosphorus, iron and vitamins A, C, D, K in significant amounts. If not eaten straight from the bowl in the memory of sweet peas from the summer, they taste good on breakfast egg bread.
Sunflower microgreens – protects cells from damage, provides energy. It contains calcium, potassium, magnesium, iron, plenty of protein, vitamins B1 and C. Recommended to add to salads and spread on bread.
Radish microgreens – has a beneficial effect on hair and skin, providing the body with a proper dose of antioxidants. Contains vitamin C, beta carotene, iron, zinc, potassium and sulphur. Its slightly spicy flavour will complement salads or vegetable purees.
Mustard microgreens – ensures good digestive function, improves metabolism, helps regulate sugar levels and boosts immunity. It contains minerals: phosphorus, potassium, iron, magnesium, sulphur, zinc, calcium, as well as vitamins B and C. Mustard microgreens go well with meat dishes.
Watercress microgreens – improves appetite, aids digestion and strengthens eyesight. Contains various minerals - iodine, calcium, iron, phosphorus and sulphur. They also contain vitamin C and beta carotene. They are a good addition to vegetable salads, omelettes or cottage cheese.